Azure storage is an underlying or otherwise critical service to power other services, such as Azure VMs. However, if you remove a VM, the associated disks will still be in place. In fact, this topic has some traction as a feedback point, but I see the cautionary element to making deleting Azure storage data somewhat difficult. If you accidentally delete something, in the nature of the cloud model; it could truly be gone. Whereas for deleting an Azure VM, having the VHD disk sitting unattached in Azure is a nice way to put it back together if the deletion was not accidental.
In this post, I’m going to use Azure Storage Explorer to clean up a few disks from deleted Azure VMs. I like the Azure Storage Explorer tool, it’s a great additional administrative tool to use when not using the Azure portal. Earlier in the day, I was deploying a marketplace image and removed it; but the VM has its disk left unattached in the storage resource group:

From the Azure Storage Explorer, I could upload other files, download this VHD file (interesting option, consider egress costs however), copy it, create a snapshot or delete it. Since I know it was deployed with the VM in the marketplace, and I know I deleted it; that is what I want to do. And the process is underway swiftly:

One important thing to note is that if you have put in network access rules, Azure Storage Explorer may not be able to do the manipulations such as deleting the files (or even browsing) if you are running the tool on a network that is not permitted in the network access configuration.
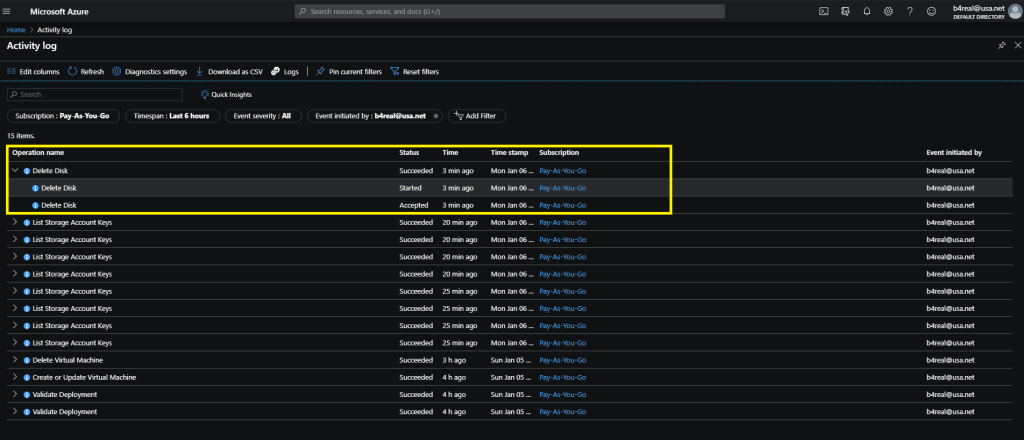
I can confirm the activity in the Azure Portal, this is important to know as we don’t want Azure Storage Explorer activity to be occurring in a vacuum. The figure below shows the activity log in the Azure Portal:

Deleting data in Azure should be safe, and I can understand why it is not THAT easy; but the Azure Storage Explorer comes in with a nice way to allow you to have the administrative convenience you need. Have you installed Azure Storage Explorer yet? If not, it’s time!


